When adding forced induction to any equation – especially a vehicle with a stock engine configuration – the chances of breaking something increase dramatically, due to increased load on all of the components. In the case of our latest project car, our Paxton-supercharged Mustang GT, the first weak link became almost immediate in the form of a coolant leak shortly after the install.
Fortunately enough, we were able pin-point and diagnose our coolant leak after a few hours of being stranded in a parking lot, and some help from a few friends who are smart enough to carry hand tools in their car (unlike your scribe). Naturally, our first instinct after suffering the leak was to replace the leaking tank with stouter component.
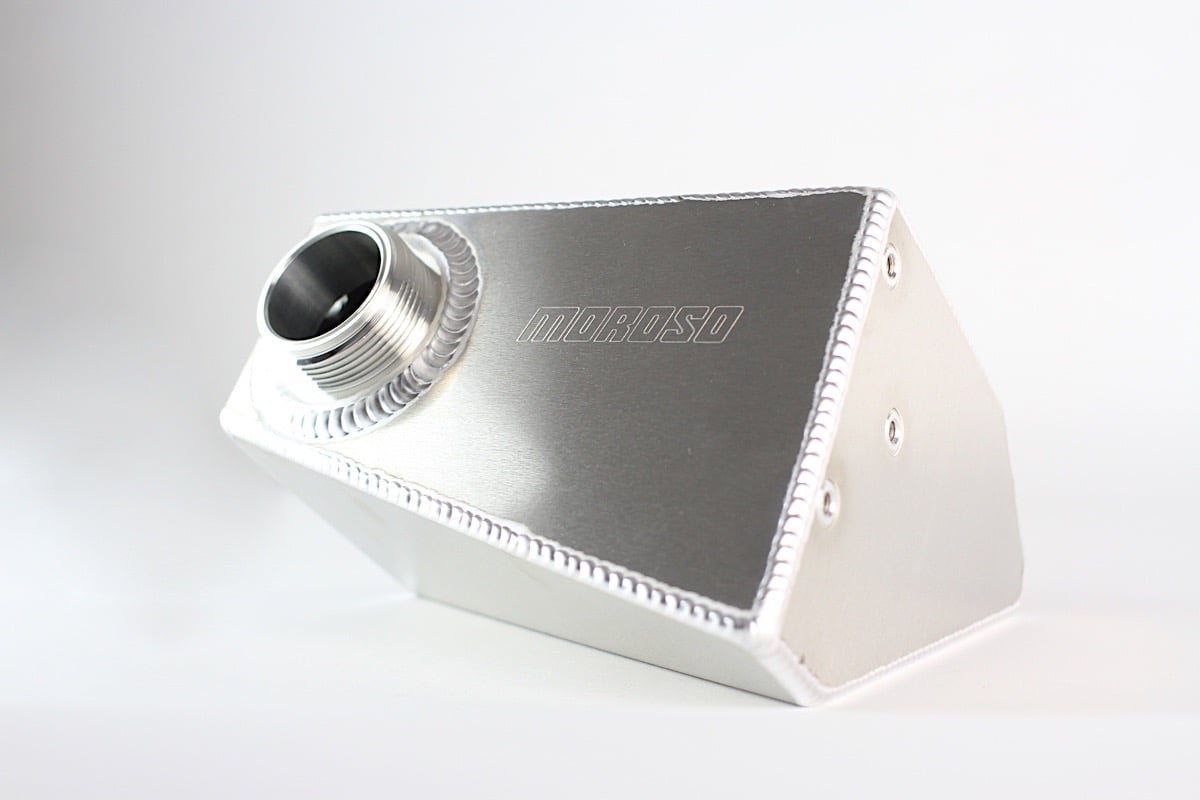
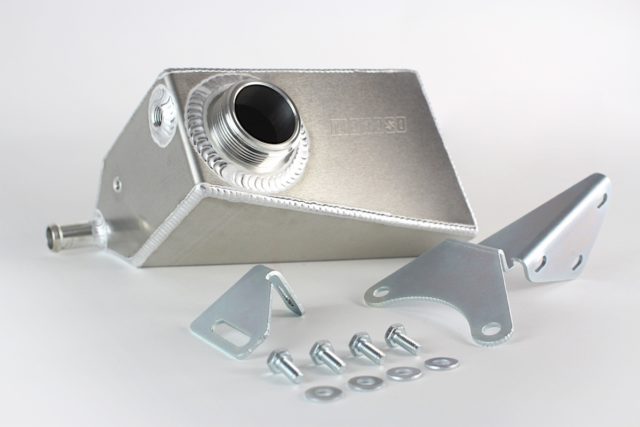
The Moroso Supercharger Tank (PN 63530; $295.65) is designed specifically to replace the factory plastic tank provided by in its centrifugal supercharger kits.
As such, we hit up our friends at Moroso for a solution which we knew would be virtually bulletproof. While our new supercharger tank from Moroso certainly looks as tough as it performs, Thor Schroeder, Marketing Manager at Moroso, tells us we can expect more than just the looks.
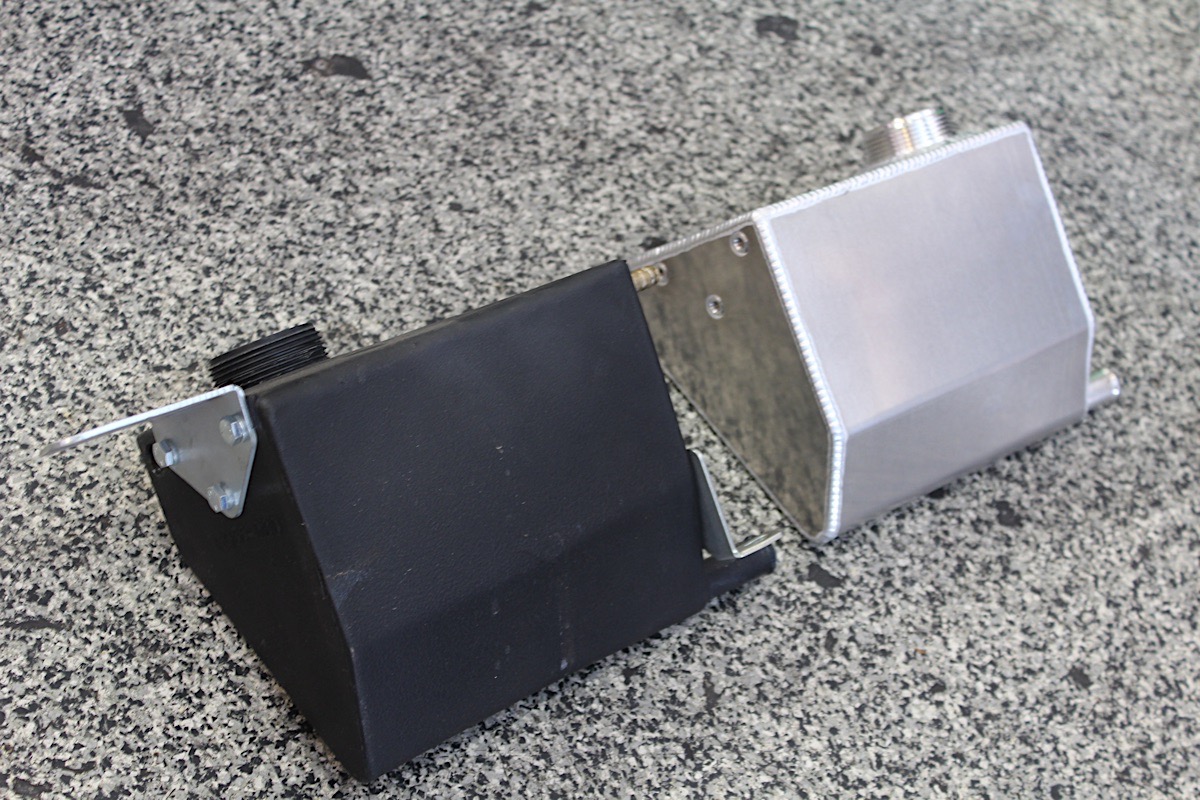
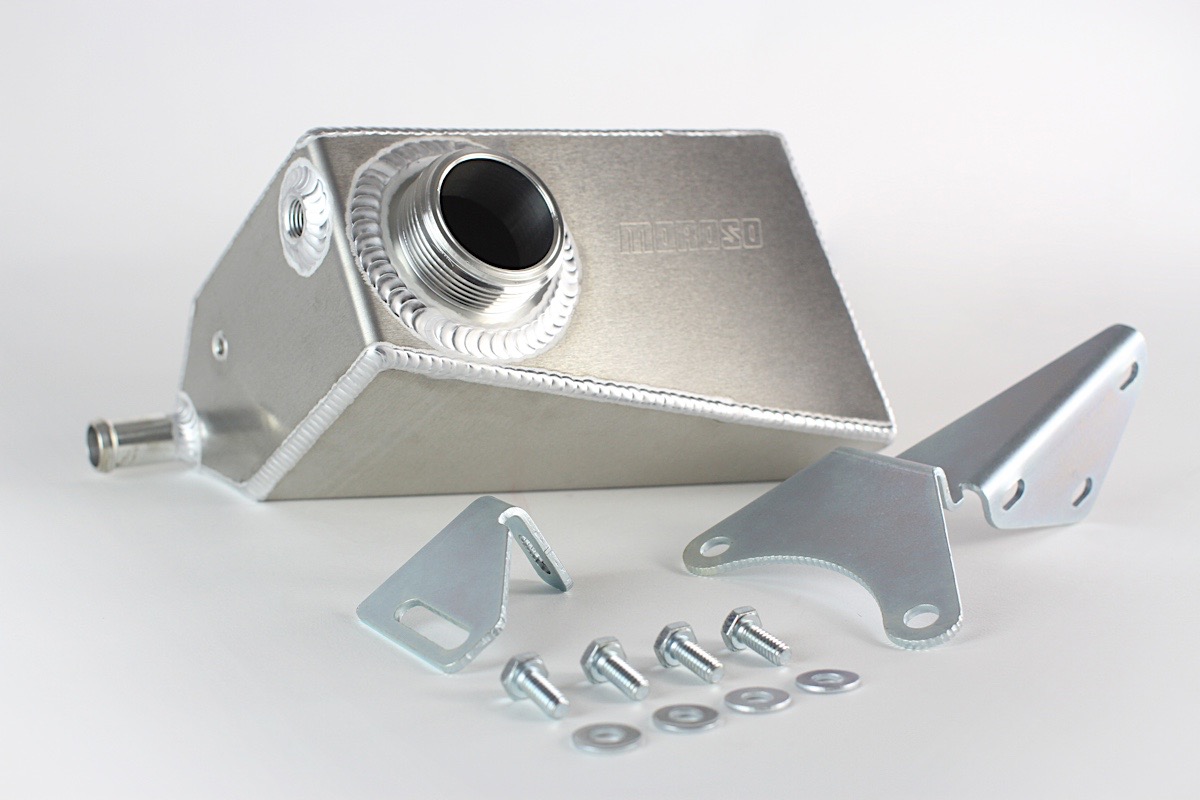
The differences in the Vortech/Paxton unit when compared to the new Moroso piece are readily apparent.
Aluminum dissipates heat much faster than, say, cast iron or steel. — Thor Schroeder, Moroso
An additional benefit beyond the heat transfer of the aluminum are that the tank won’t be susceptible to cracking, due to the additional heat generated from factory exhaust manifolds or long-tube headers.
Supercharger Tank Features
• Direct bolt-in replacement for the intercooler tank supplied in the Paxton, ProCharger, and Vortech supercharger kits
• Fabricated of aluminum for strength, will not split due to underhood heat
• Can be polished, chromed, powdercoated or left as-is for a race look
• Can be packed with ice for the track or dyno pulls for quicker e.t.’s and more horsepower
PN 63530
While Moroso offers alternative aluminum supercharger/coolant tanks for 2005+ Mustang GTs, our Supercharger Tank (PN 63530;$295.65) is designed specifically to replace the factory plastic tank provided by in its centrifugal supercharger kits.
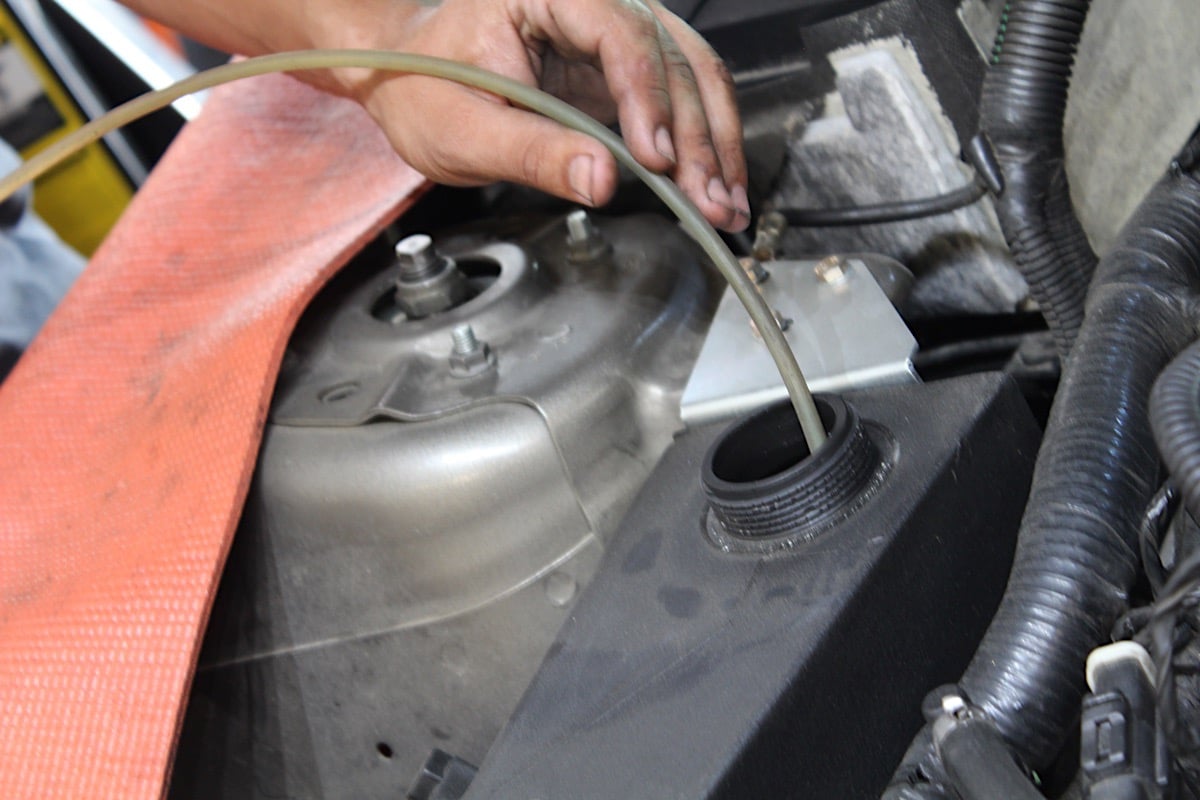
Installing our new supercharger tank from Moroso was naturally a breeze, and can be accomplished in about 30 minutes time (or one beer after 5 p.m., depending on your age).
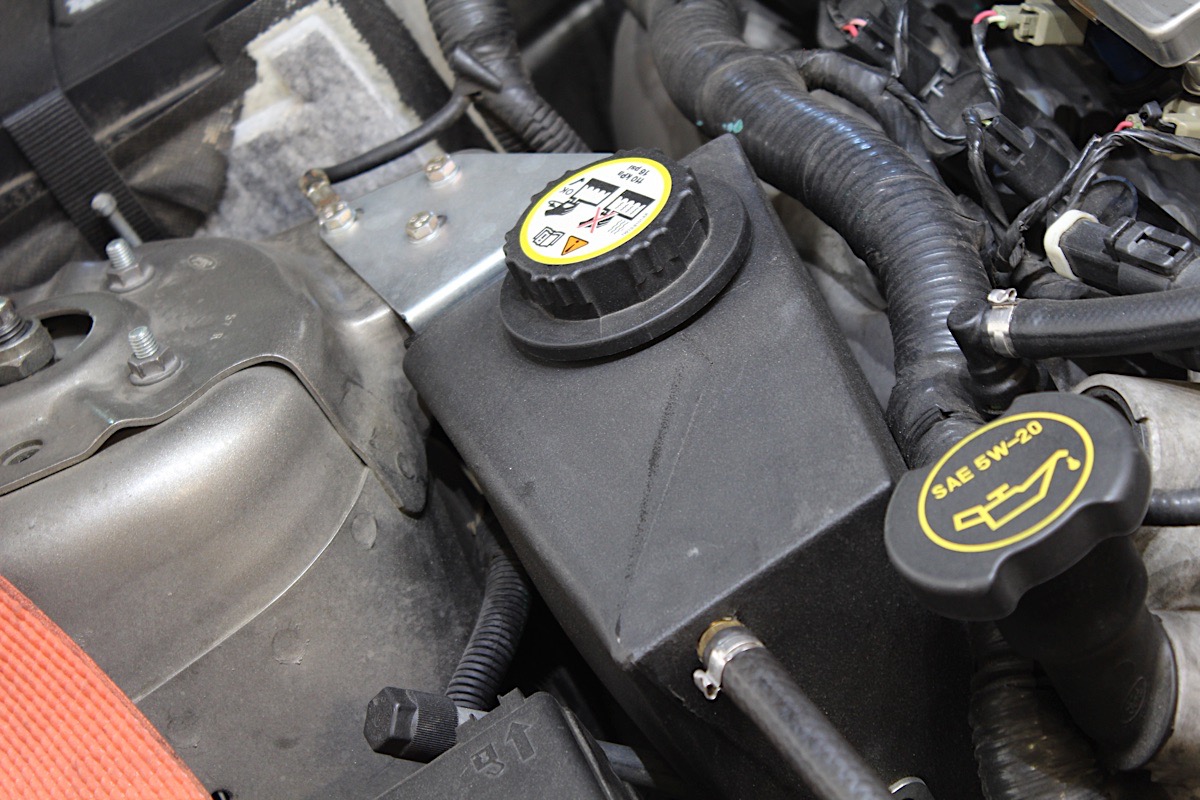
The install begins with syphoning out the coolant/water that is currently in the plastic Vortech piece. Once that’s been accomplished, you’ll want to disconnect both the feed and the return lines on the unit, then you can remove the factory reservoir by the three screws located at the rear of the tank which hold the unit in place.
You’ll need to reuse the mounting bracket originally supplied in the Vortech/Paxton kit, as the one Moroso supplies is for a 2011-plus Coyote (the mounting locations are different on both cars). Moroso supplies new screws and washers for the installation. If your Mustang has a Vortech/Paxton/ProCharger installed on it and you’re in the market for a new supercharger tank solution, we highly encourage you to checkout what Moroso has to offer for your ride.
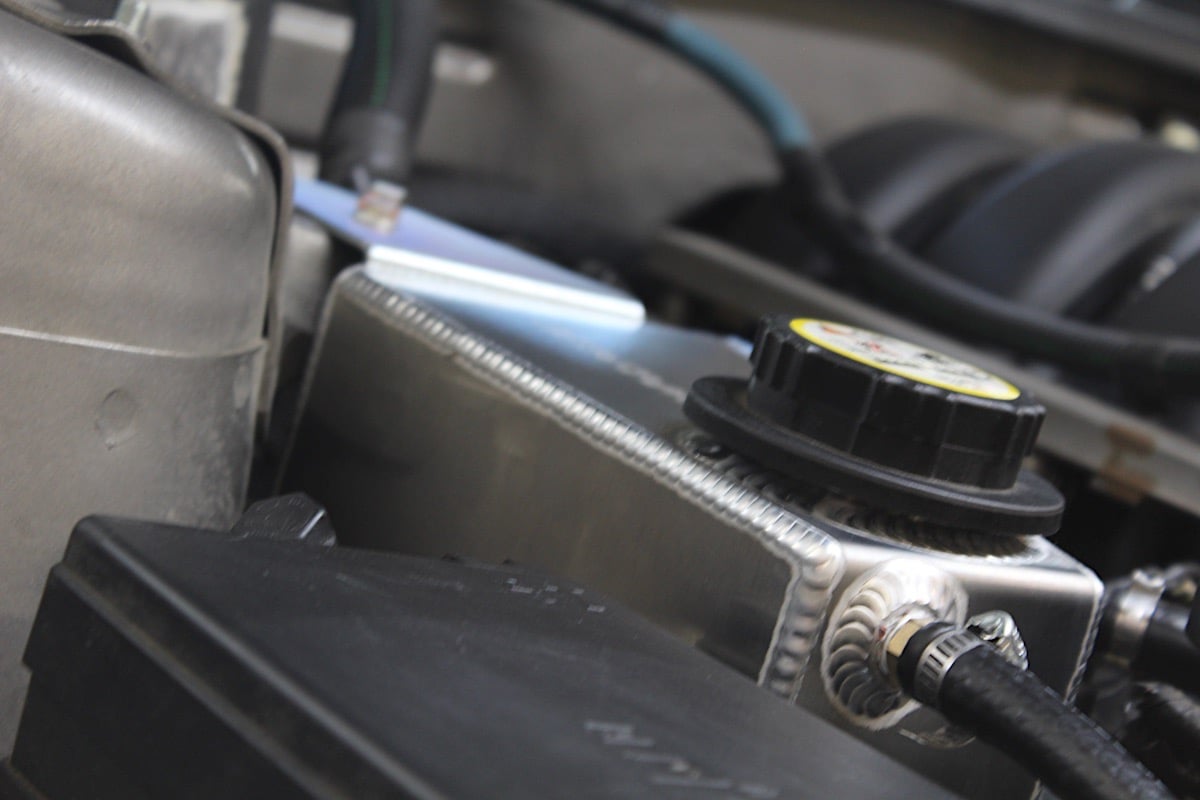
Once the unit has been secured, reattach both the feed and return lines to the new Moroso tank. Lastly, fill the new unit with water or a type of coolant of your choice. Since our Mustang is mostly stock, we chose to continue using a 50/50 mix of antifreeze and water for our application. Ensure that everything is tightened down and turn the car over, checking for any leaks and allowing the thermostat to open to move the newly added coolant. You may need to burb the tank with a plunger to make certain there are no air bubbles in the system.